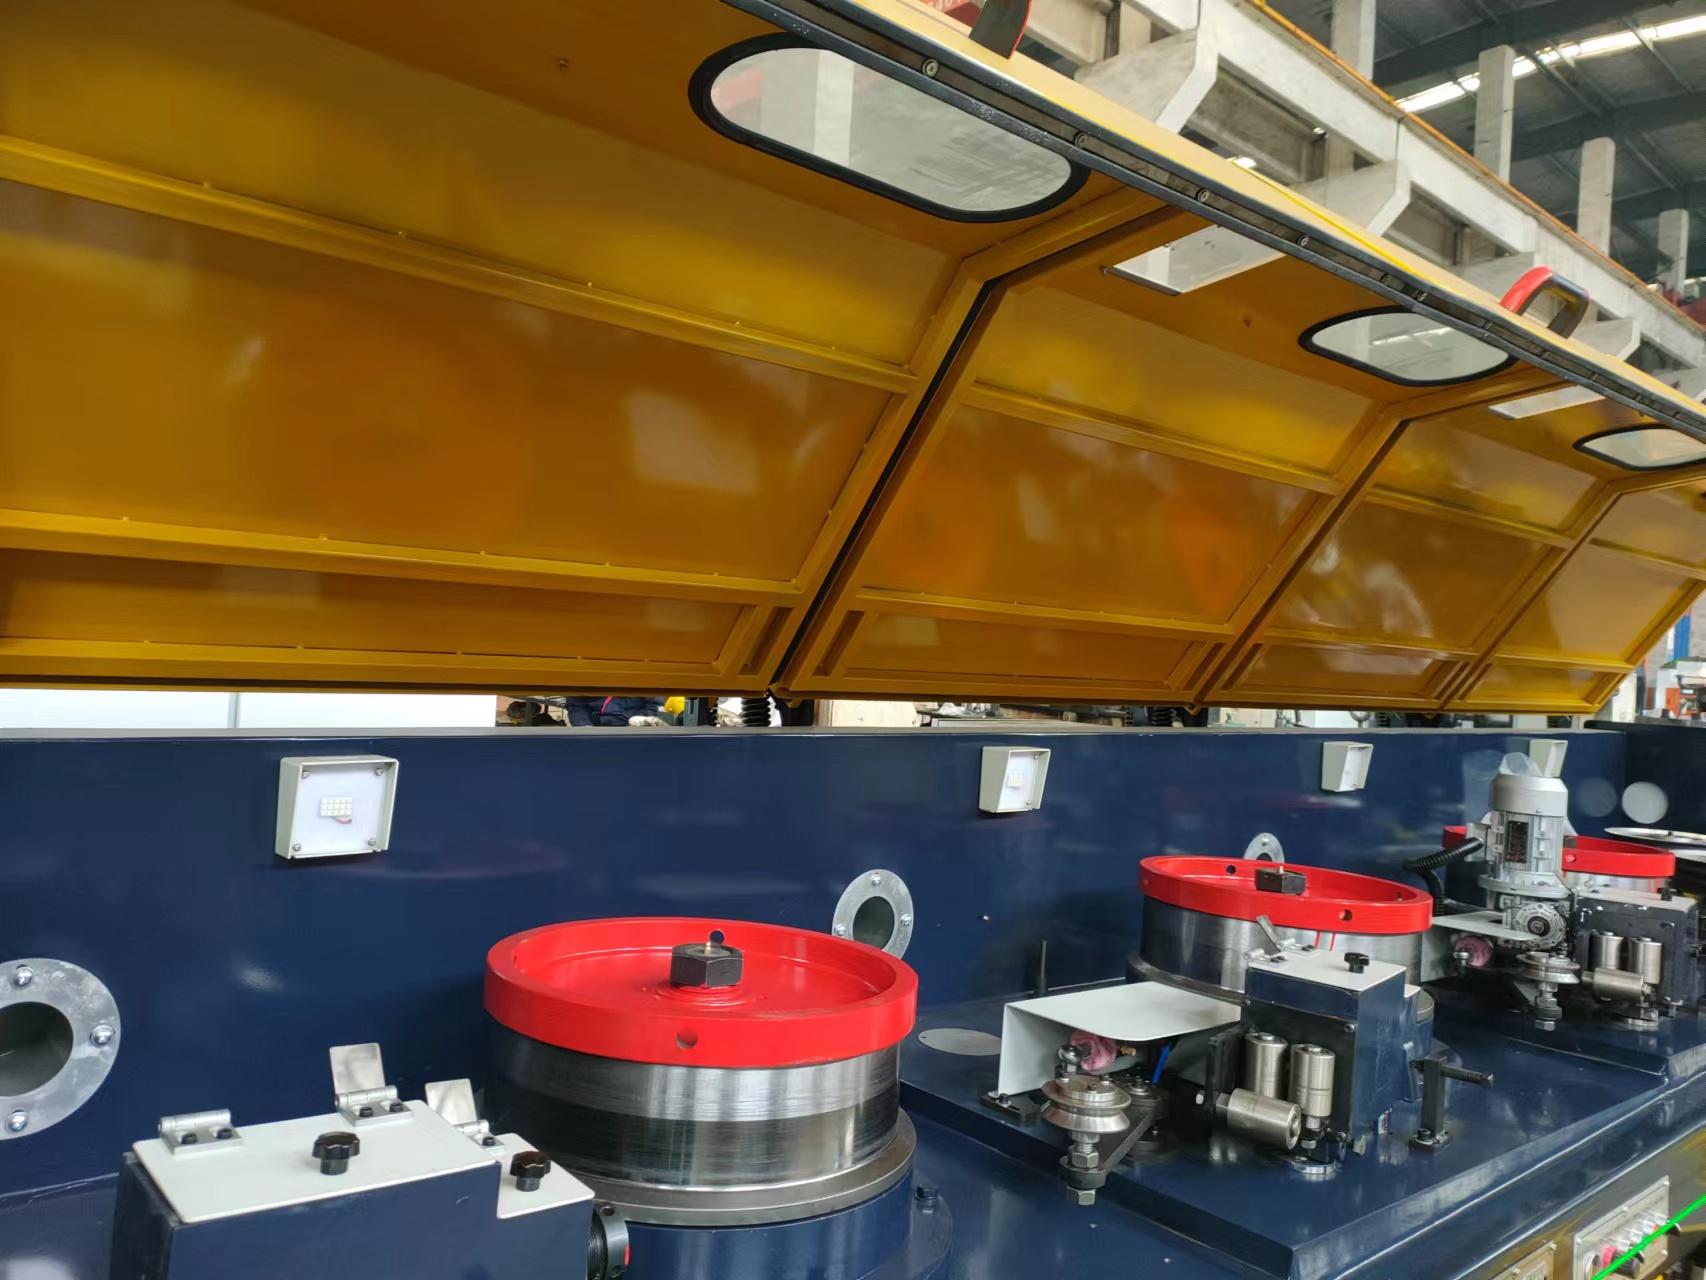
Drawing die matching is the process of determining the drawing pass, drawing die hole size, and shape based on the size of the billet and wire during metal wire drawing, also known as the development of drawing procedures or drawing routes. It can be divided into single pass wire drawing and multi pass wire drawing. The main steps of wire drawing and mold matching include the following four steps: 1. Select the blank; 2. Determine the number of intermediate annealing times; 3. Determine the elongation coefficient of the drawing pass and distribution pass; 4. Mold matching verification. Below are two cases of circular section metal wire drawing and irregular section metal wire drawing, specifically introducing the steps and calculation methods of wire drawing mold matching.
What is wire drawing die matching?
Drawing die matching is the process of determining the drawing pass, drawing die hole size, and shape based on the size of the billet and wire during metal wire drawing, also known as the development of drawing procedures or drawing routes. It can be divided into single pass wire drawing and multi pass wire drawing.
Single pass wire drawing die matching refers to the drawing die matching of metal wire through only one mold during each drawing on a
Wire Drawing Machine.
Multi pass wire drawing and die matching refers to the drawing and die matching of metal wires continuously passing through several or more molds on a wire drawing machine at the same time. It is divided into sliding continuous multi pass wire drawing die and non sliding continuous multi pass wire drawing die.
2. Steps and precautions for wire drawing and mold matching:
The main steps of wire drawing and mold matching include the following four steps:
(1) Select the blank;
(2) Determine the number of intermediate annealing times;
(3) Determine the elongation coefficient of drawing passes and distribution passes;
(4) Mold matching verification.
There are three points to note during the wire drawing and mold matching process:
(1) Under the condition of ensuring the stability of the wire drawing process, fully utilize the plasticity of the metal and reduce the number of drawing passes to achieve the goal of improving the drawing productivity;
(2) Reasonably allocate the pass extension coefficient to obtain the desired size, correct cross-sectional shape, and good surface quality;
(3) The mold configuration parameters are compatible with the main parameters of the wire drawing machine.
Below are two cases of circular section metal wire drawing and irregular section metal wire drawing, specifically introducing the steps and calculation methods of wire drawing die matching.
1. Specific method for matching circular cross-section metal wire molds
1. Blank selection:
The size and cross-sectional shape of the billet should be selected and determined based on the required state, dimensional accuracy, mechanical properties, serialized production of wire size, and the production method of the billet for the finished metal wire. The billets of round wires are generally rolled, extruded, and cast rolled wire rods, and there are also billets that use continuous casting or forging.
In addition to considering size, the similarity of cross-sectional shape should also be considered for the billet of the shaped wire, in order to gradually transition from the cross-sectional shape of the billet to the requirements for the cross-sectional shape of the finished shaped wire. For example, selecting rectangular cross-section billet for rectangular wire and circular cross-section billet for double channel tram line.
2. Determine the number of intermediate annealing times:
Metals and alloys that significantly undergo work hardening during the drawing process require intermediate annealing to restore plasticity and facilitate further drawing. For thick wires with good plasticity, such as copper and aluminum, intermediate annealing may not be required. The number of intermediate annealing times n is determined by the following equation:
(1)In the equation λσ Is the total elongation coefficient from the blank to the finished wire; The average total elongation coefficient for annealing.
3. Determine the elongation coefficient of drawing passes and distribution passes
Drawing pass n based on total elongation coefficient (without intermediate annealing) λσ Or the total elongation coefficient between two annealing cycles λ Determination of t and average elongation coefficient of passes:
The allocation of pass extension coefficients can be divided into two schemes: the one with equal extension coefficients in the middle pass and the one with decreasing extension coefficients in sequence. The former is suitable for the drawing of metal and alloy wires with good plasticity and slow deformation hardening, such as copper, aluminum, white copper, etc. The latter is suitable for drawing metal and alloy wires with fast deformation hardening, such as brass. Due to size deviation of the billet, residual oxide skin on the billet during annealing or pickling, etc., a smaller elongation coefficient is used for the first drawing process. To ensure the dimensional accuracy and surface quality of the finished wire, a smaller elongation coefficient is used for both the finished pass and the previous pass. In wire drawing production, the elongation coefficient of the intermediate pass is 1.25~1.50, and the elongation coefficient of the finished pass is 1.10~1.20
4. Mold matching verification
After the wire drawing mold is determined, it should be checked. For single pass wire drawing, only need to check whether the pass Factor of safety is reasonable and whether the drawing power meets the capacity of the wire drawing machine. For multi pass wire drawing and die matching, in addition to checking the pass Factor of safety, it is necessary to check the pass extension coefficient λ N is greater than the speed ratio of two adjacent drums in this pass γ N. For sliding continuous multi pass wire drawing, λ N> γ N is a necessary condition for sliding between the metal wire and the drum to ensure a certain sliding rate. For non sliding continuous multi pass wire drawing, λ N> γ There is a certain amount of wire accumulation on the drum, which is a requirement to ensure the normal drawing process. The ratio of k to is called the relative sliding coefficient, which ranges from 1.02 to 1.10. In order to reduce the wear between the metal wire and the surface of the drum, τ The commonly used range of n values is 1.02 to 1.05. The finer the diameter of the drawn wire, τ The value of n tends towards the smaller value direction.
2. Specific method for mold matching of metal wire (shaped wire) with irregular cross-section
The selection principle of shaped wire blanks:
(1) The shape of the drawn finished wire must be included in the shape of the billet, because drawing deformation is a deformation caused by the reduction of the cross-section;
(2) Require all parts of the billet to undergo equal extension deformation as much as possible;
(3) Require the blank to be in contact with all parts of the mold hole at the same time, so that all parts of the metal in the blank are compressed as evenly as possible, to avoid forced deformation of the untouched metal and affect the shape of the drawn product;
(4) The size of the blank should ensure the mechanical properties and surface quality requirements of the finished product.
When determining the distribution of drawing passes and pass extension coefficients, the cross-sectional area of the shaped wire is converted into a circular cross-sectional area, and the drawing pass n and pass extension coefficients are preliminarily determined by referring to the mold configuration of circular wires with the same metal and cross-sectional area λ N allocation, calculate the cross-sectional area fn for each pass.
Due to not only dimensional changes occurring in each pass during the wire drawing process, but also the transition from the shape of the billet section to the shape of the finished product section, the cross-sectional shape and size of each pass die hole are determined using graphical design method. The specific steps are:
(1) Firstly, make concentric circles corresponding to the cross-sectional area of the blank and finished wire, which are converted into equal circular areas, at a ratio of 10-20 times or greater. Then, between these two circles, make other concentric circles that are equal to the area of each intermediate blank and corresponding to each intermediate blank. At this time, the area ratio of adjacent concentric circles is equal to the elongation coefficient of the corresponding pass.
(2) Enlarge the shape diagram of the billet and finished product section by the same factor, place the finished product section diagram within the cross-section diagram of the billet, and make the center of gravity of the two coincide. The finished product section outline diagram can rotate around its center of gravity within the billet outline diagram to determine a reasonable position, causing small uneven deformation during each drawing process.
(3) Divide the contour line of the finished product cross-section into dozens of equal parts, and draw an imaginary flow line of metal particles from the equal points of the contour line of the finished product cross-section to the contour line of the billet cross-section between the blank and the finished product cross-section. These flow lines are short curves perpendicular to the contour lines of the billet and finished product cross-sectional shapes. The method for drawing hypothetical streamline is to gradually approach the streamline on the part where the curvature center of the contour curve of the finished product section is located inside the finished product section from the outside to the inside; When the center of curvature is located outside the contour line of the finished section, the streamline gradually separates from the outside to the inside; In the section with large curvature on the contour line of the finished product cross-section, auxiliary flow lines should be added between equal points to increase the density of the flow lines.
(4) On the metal flow line, segment according to the proportion of the determined reduction in pass diameter. Connect all points with the same pass on the flow line with a line, which must form an orthogonal network with the metal flow line. These connected curves are the cross-sectional shapes of the billets for each pass, that is, the shapes of the mold holes for each pass.
(5) Correct and adjust the contour lines of the billet cross-section obtained from the above processes to ensure that the metal flow lines are stable, smooth, and evenly distributed on the cross-section; Correct the part where the metal flow line is not perpendicular to the connecting line.
(6) Recalculate the elongation coefficient of each pass, draw the profile of the blank and finished product section of each pass on the homogeneous paper, and determine the elongation coefficient using the Paper Cuttings weighing method or the number grid method. The magnitude of the obtained elongation coefficient should not exceed the elongation coefficient value of the corresponding circular cross-section wire drawn from the same material, otherwise it should be corrected.
(7) Calculate the drawing force, check the drawing Factor of safety and drawing power.
Our main products are wire drawing machine,drum packing machine,Mig Welding Wire Production Machine,Layer Winding Machine,pay off and take up machine,and so on.


